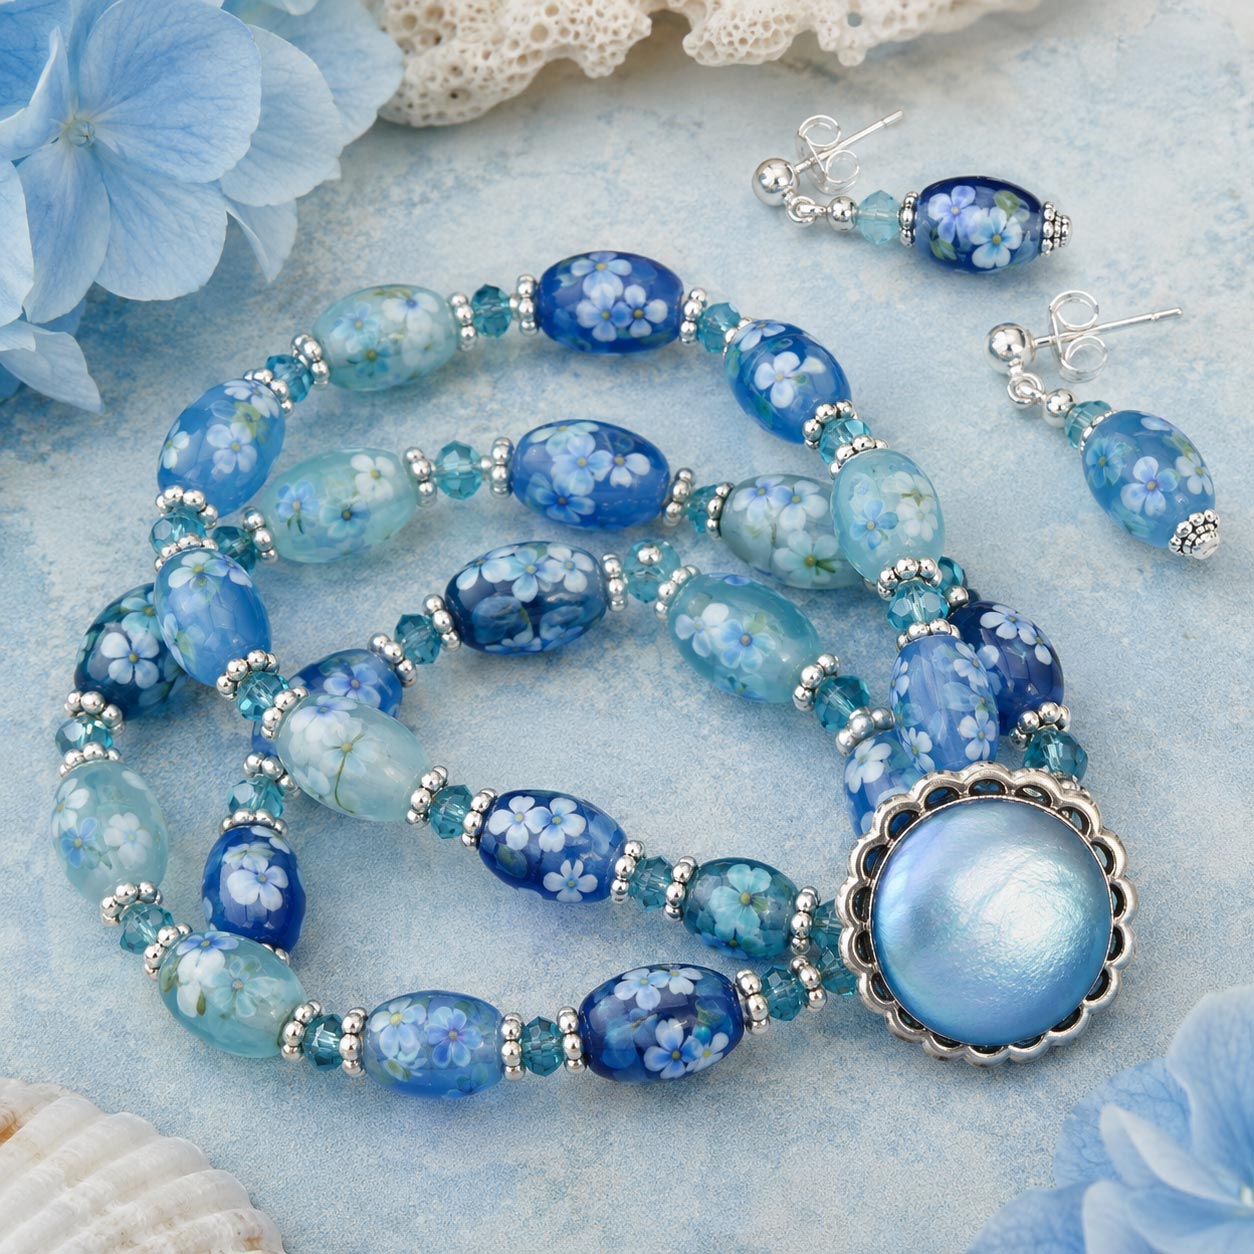
Buttons aren't just for sewing. Combine a decorative button with beautiful beads and you'll have a bracelet that's a little different from anything you'll find in the jewelry store.
Create a fun and distinctive three-strand bracelet and matching earrings by combining large decorative beads, metal spacers and a beautiful shank button. The button becomes the focal point that gathers the bracelet strands together and gives the finished jewelry set an unexpected, one-of-a-kind look.
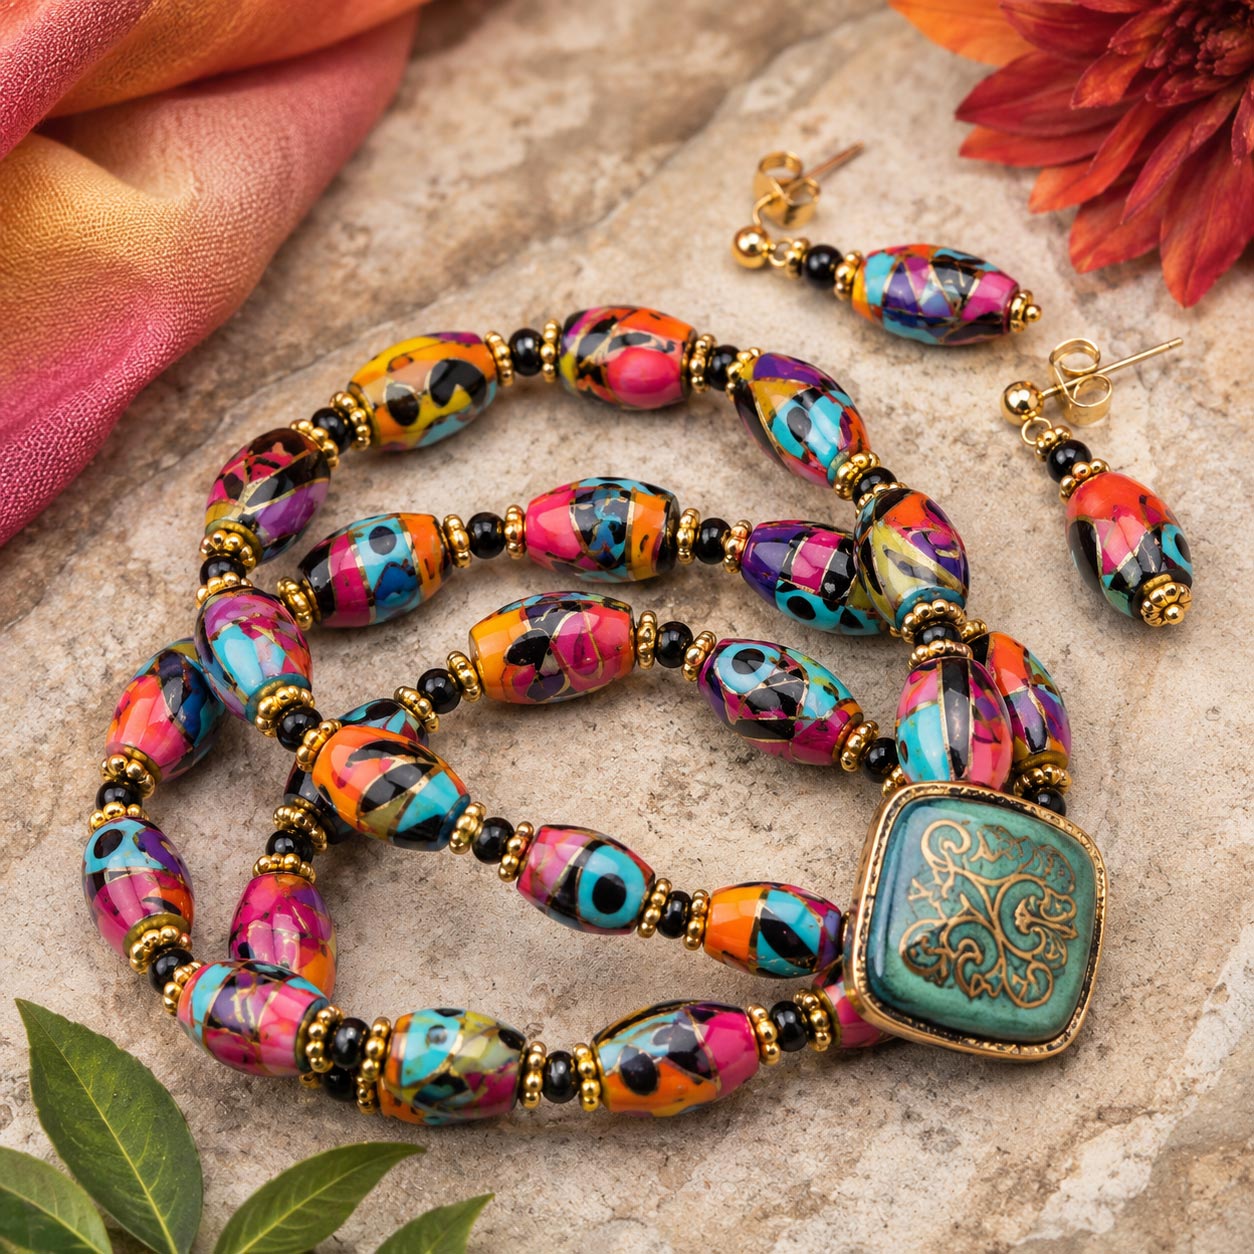
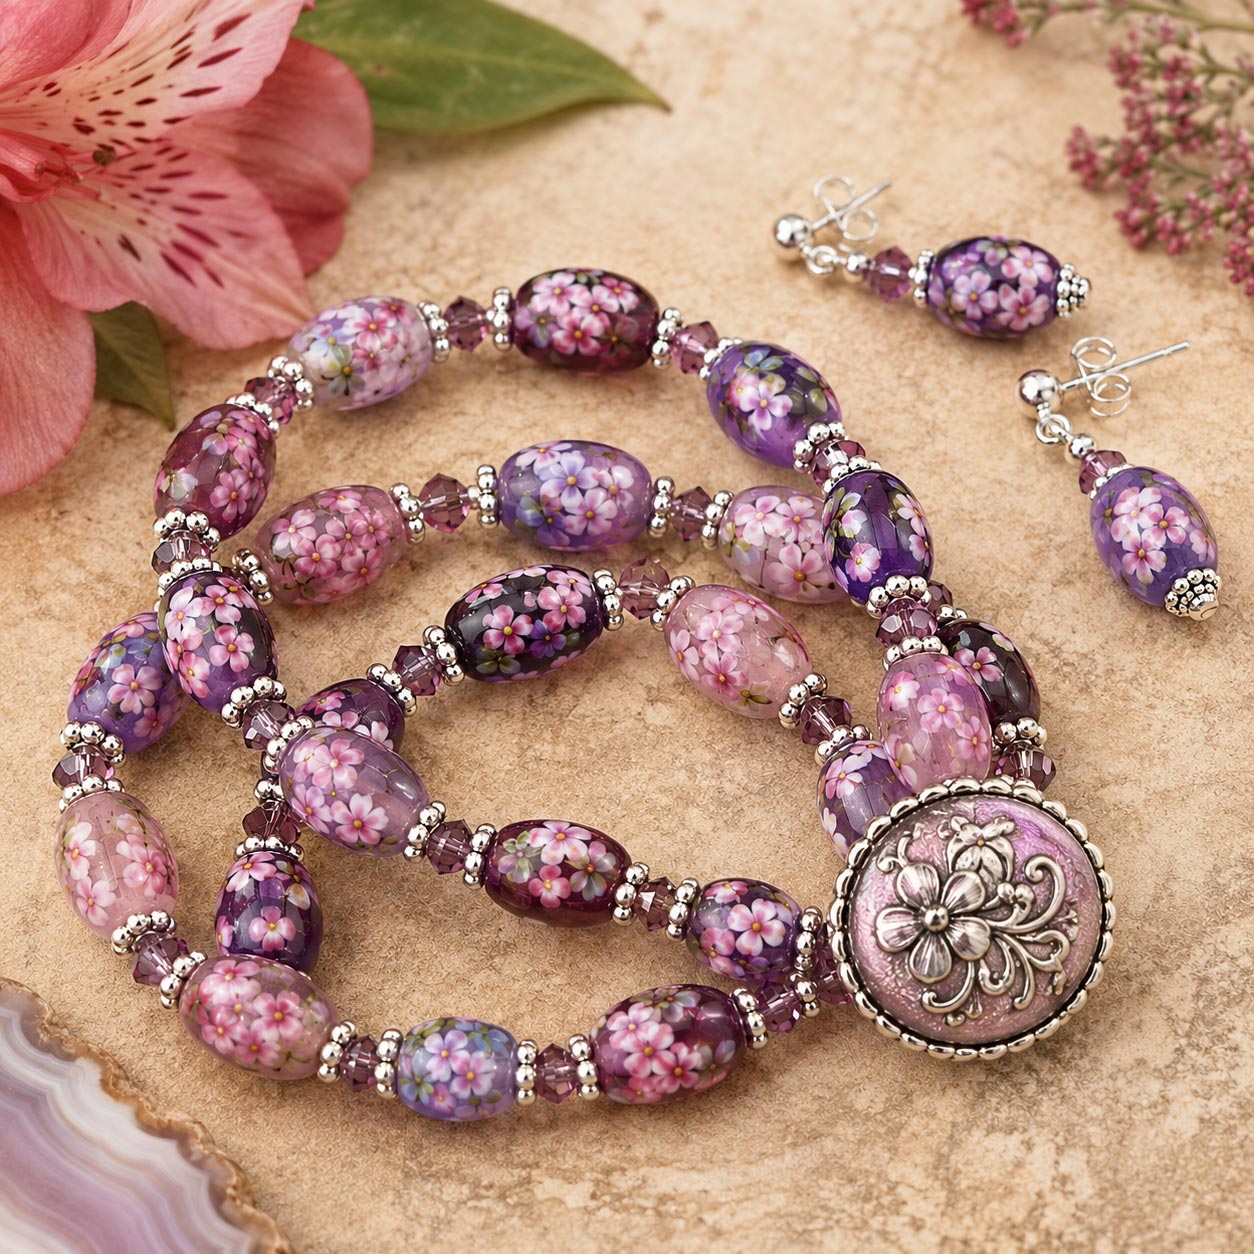
This beads and buttons jewelry pattern is easy to personalize. Choose bright artisan beads and an etched button for a playful bohemian style, soft floral beads and an ornate metal button for romantic jewelry, or cool glass beads and silver findings for an elegant design. No two sets will look alike.
The bracelet stretches comfortably over the hand, but it is the creative pairing of beads and buttons that makes the design stand out. Make a coordinated bracelet and earring set for yourself, match the colors to a favorite outfit, use birthstone shades for a personal gift, or turn a treasured button into wearable jewelry.
If you make this project please share your photos with us. If we use them on our website or on Facebook you will get 10% off of your next order over $25!
Making the Three-Strand Stretch Bracelet
1. Cut three 12-inch pieces of clear stretch cord. The extra length gives you room to string the beads and tie the finished strands without having to work too close to the ends.
2. String three small spacer beads onto each piece of stretch cord. This is where the button will go so keeping the beginning and ending sections the same on all three strands and using the small beads will help the bracelet gather evenly at the button.
3. On the first cord, string one thin daisy spacer, one large decorative bead, one daisy spacer and one small spacer bead. Continue repeating that sequence until the strand contains about 10 large beads (depending on the length you desire and the size of beads you are using):
(Daisy spacer, large bead, daisy spacer, small spacer bead.)
4. After the last large bead, add one final daisy spacer followed by three small spacer beads.
5. Repeat the same pattern on the remaining two cords. Each completed strand should contain the same quantity of large beads and should be approximately the same length.
6. Thread both ends of the first stretch cord through the shank on the back of the button. Repeat with the other two strands, bringing all six cord ends through the same button shank.
7. Check the bracelet size and tension. The strands should lie comfortably together without being pulled so tightly that the beads bunch or so loosely that large gaps appear.
8. Tie the two ends of each strand together with a secure square knot or surgeon's knot. Tighten each knot firmly while maintaining the desired bracelet size.
9. Place a small dot of glue on each knot to help prevent it from loosening. Allow the glue to dry completely, then trim the excess cord close to the knots without cutting into them.
Your finished bracelet stretches over the hand, while the button gathers the three strands and creates a finished focal point.
Making the Matching Earrings
1.Thread the following beads onto one head pin.
Daisy spacer, large decorative bead, daisy spacer, small spacer bead and one final daisy spacer.
2. Using jewelry pliers, bend the wire above the beads around to form a loop.
3. Hold the loop with jewelry pliers and wrap the remaining wire around the head pin between the loop and the top spacer bead. Keep the wraps neat and close together.
4. Cut away any excess wire and use the pliers to press the cut end smoothly against the wrapped section so that no sharp edge remains.
5. Repeat the same steps to make the second earring.
Make the Design Your Own
- Combine multicolored artisan beads with antiqued metal spacers and an engraved or patterned button.
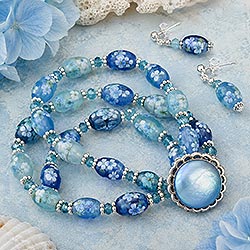
- Use blue glass beads, silver spacers and a shell or pearl-style button for a cool coastal design.
- Choose pink, lavender or floral beads with an ornate silver button for soft romantic jewelry.
- Use pearl beads and gold spacers for wedding, anniversary or special-occasion jewelry.
- Mix coordinating beads rather than identical ones to create an artistic, collected look.
- Make the three bracelet strands in graduating shades of one color.
- Use birthstone colors to create a personalized bracelet or handmade gift.
- Substitute rondelles with rhinestones or crystals when you want more sparkle between the large beads.