In business since 1985. Online since 1994. We sincerely thank you for supporting family owned, family operated businesses!
Member of Better Business Bureau with an A+ rating.
Give us a call from 8am to 6pm Mon-Fri. We are available to answer questions or to take your order.
(361) 645-3325
Ho, Ho, Ho! Santa Claus Is Coming to Town!
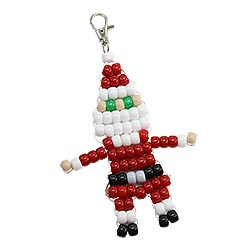
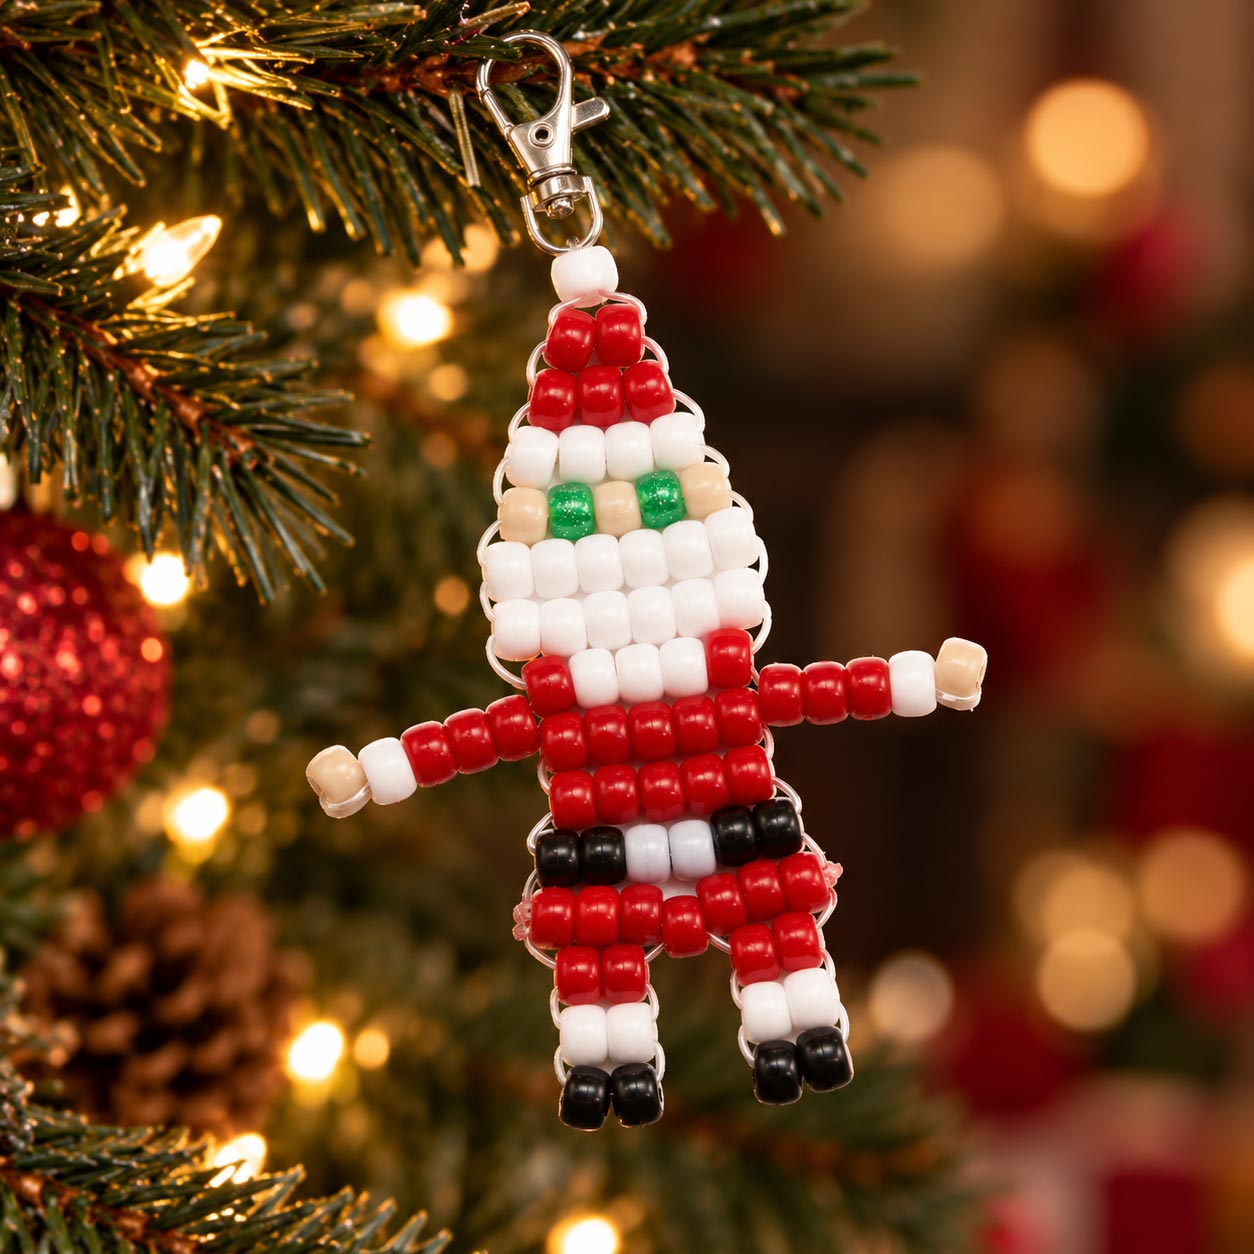
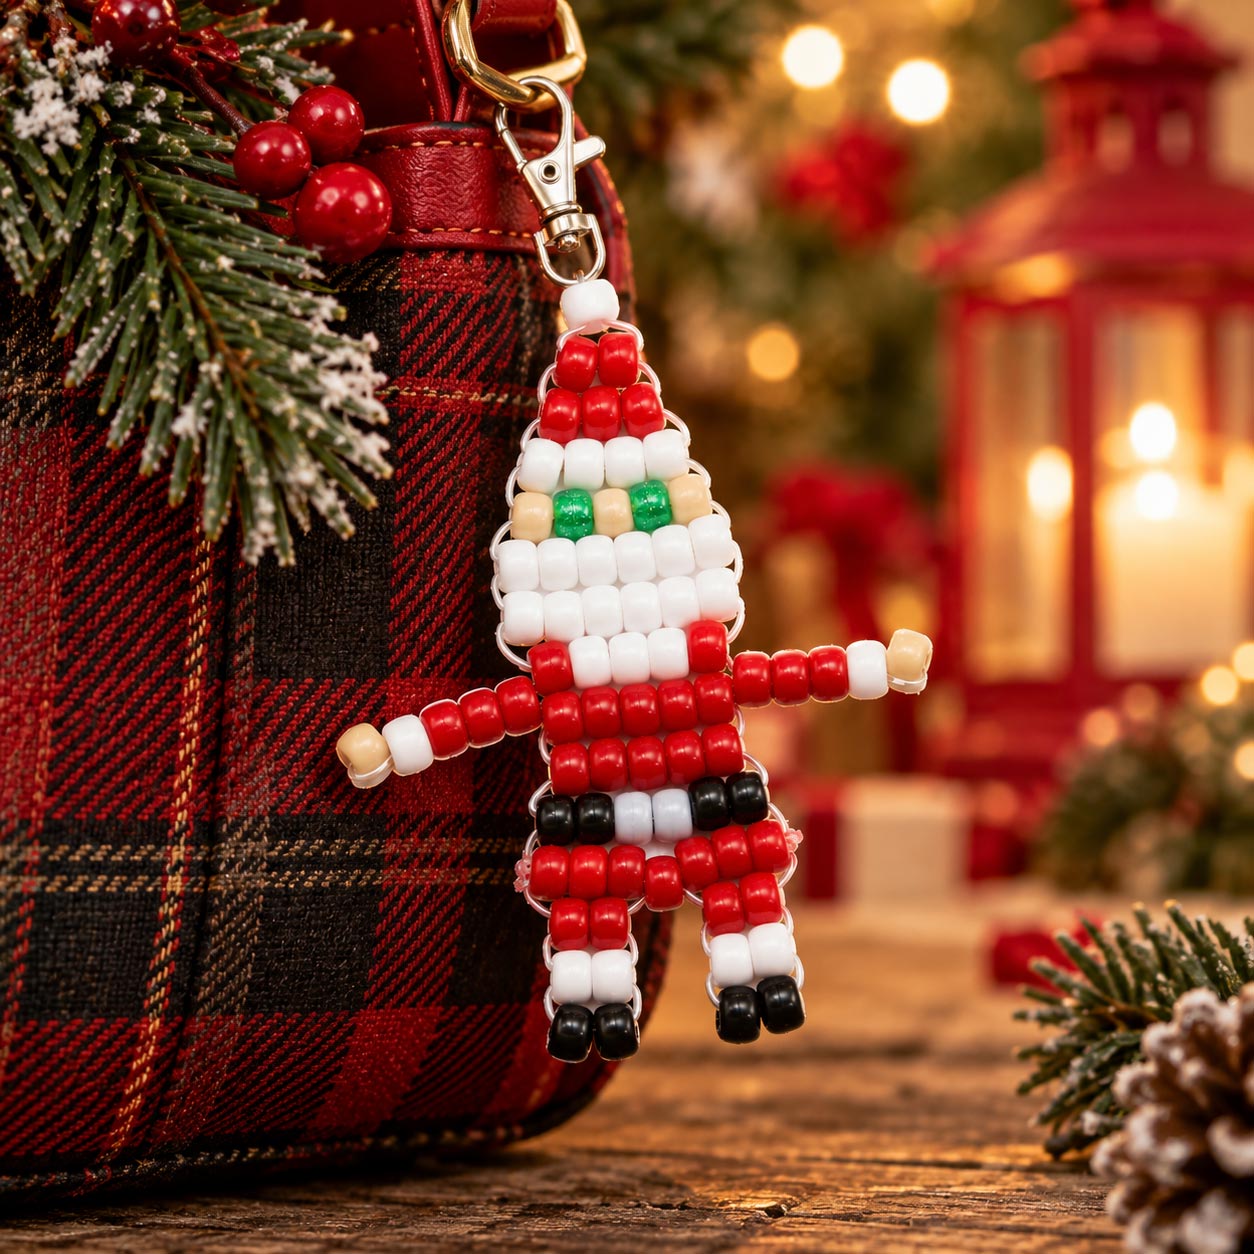
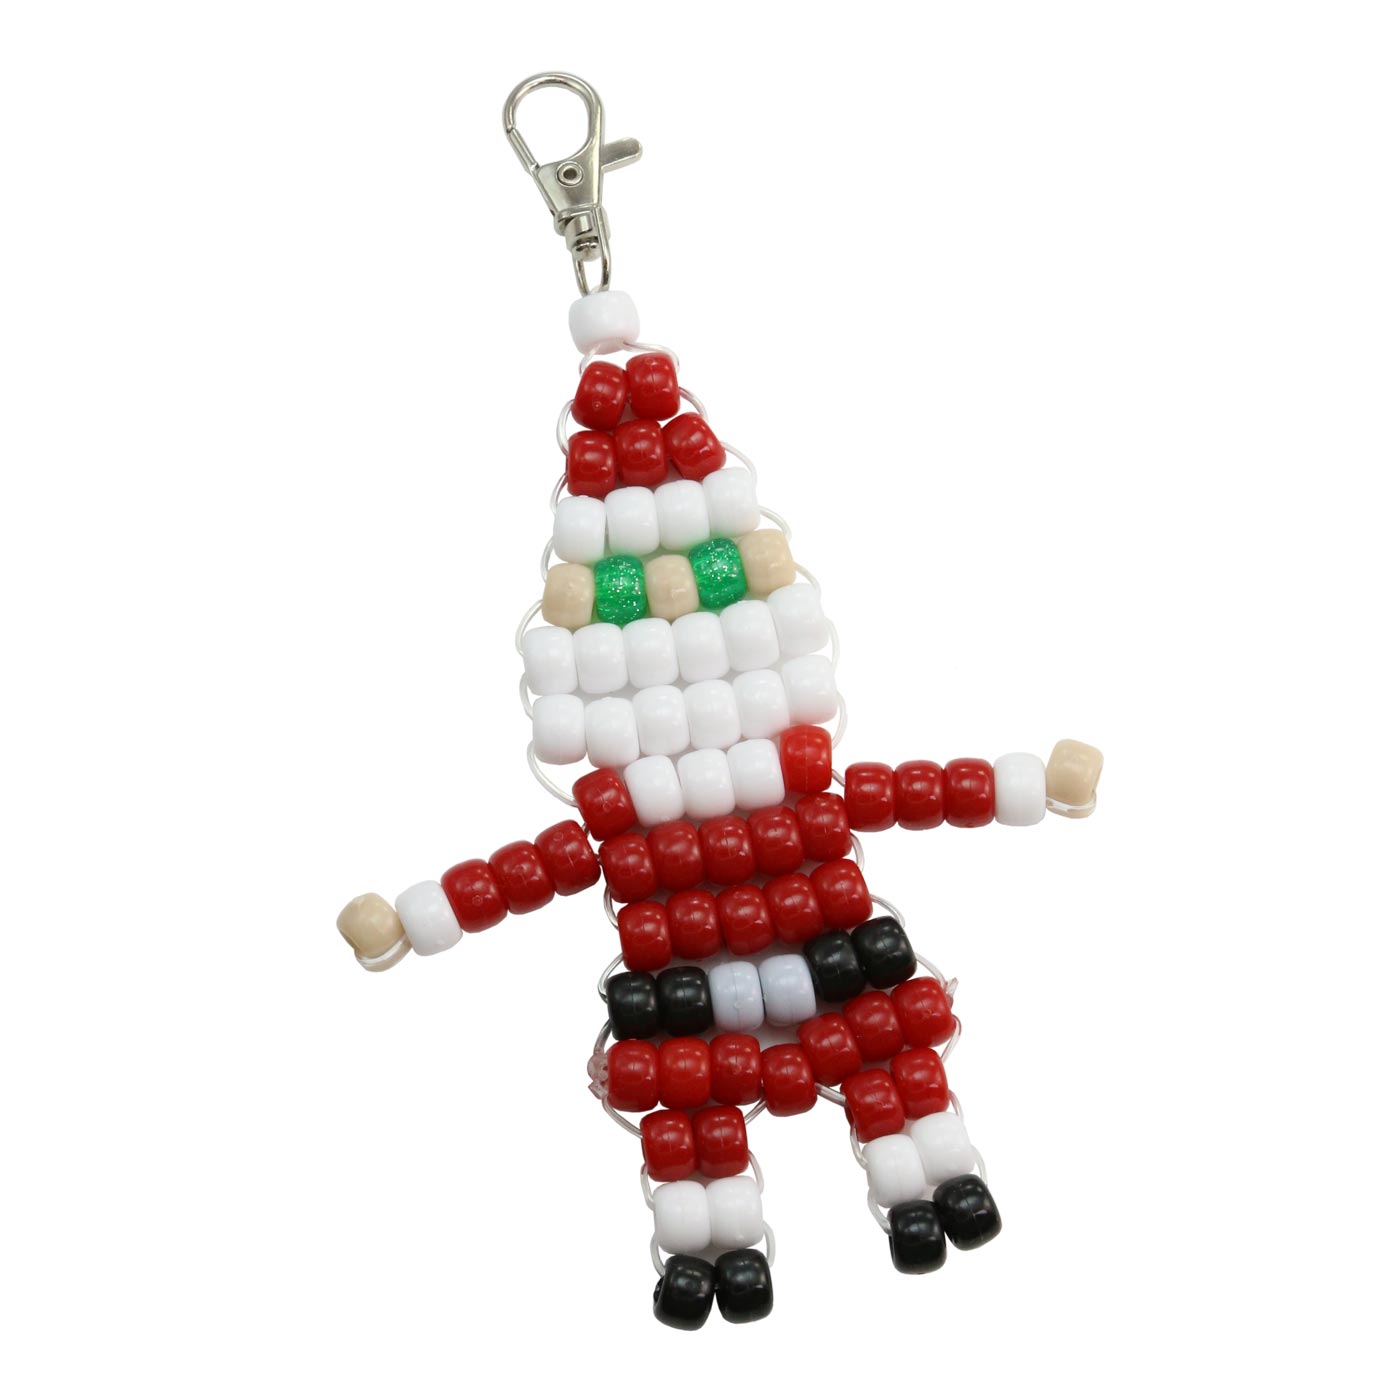
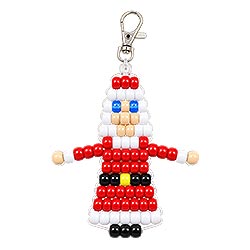
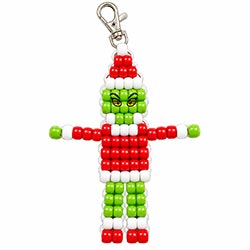
With his bright red suit, snowy white beard, and jolly Christmas spirit, this little beaded Santa is ready to spread some holiday cheer! Our free pony bead Santa pattern lets you bring everyone's favorite Christmas visitor to life, complete with his red hat, black belt, and a pair of bright green Christmas colored eyes peeking out above his fluffy beard.
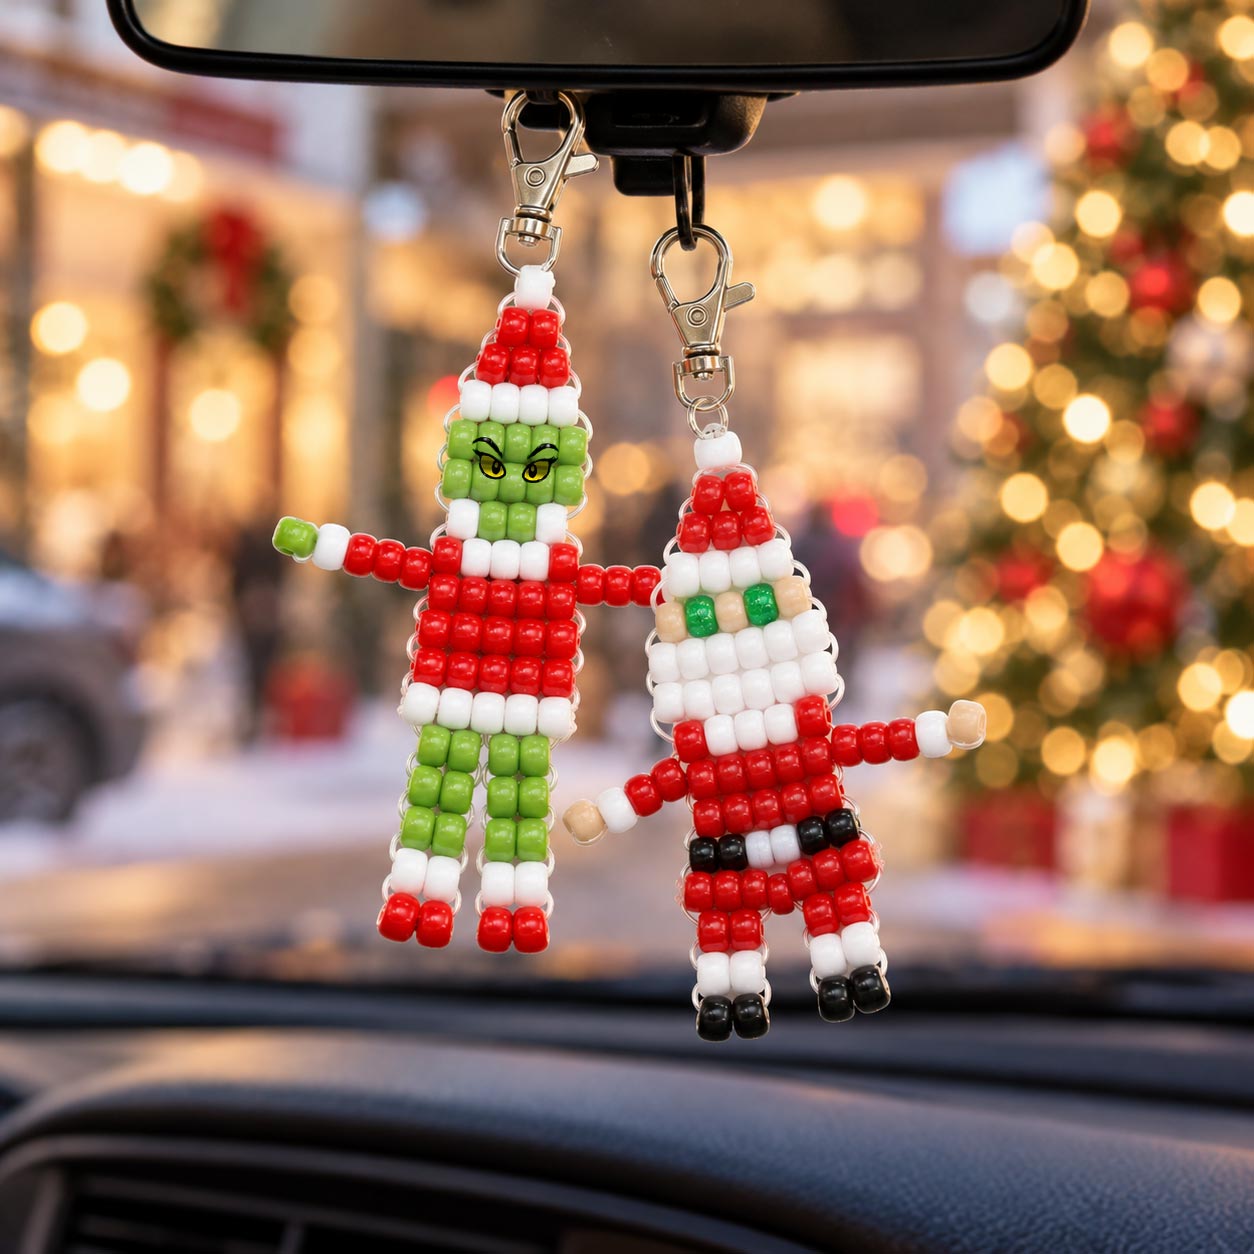
Imagine Santa dangling from a decorated Christmas tree branch, on a backpack, or adding a festive touch to your keys! This cheerful Santa Claus keychain also makes a delightful little Christmas gift, stocking stuffer, or surprise added onto a wrapped package.
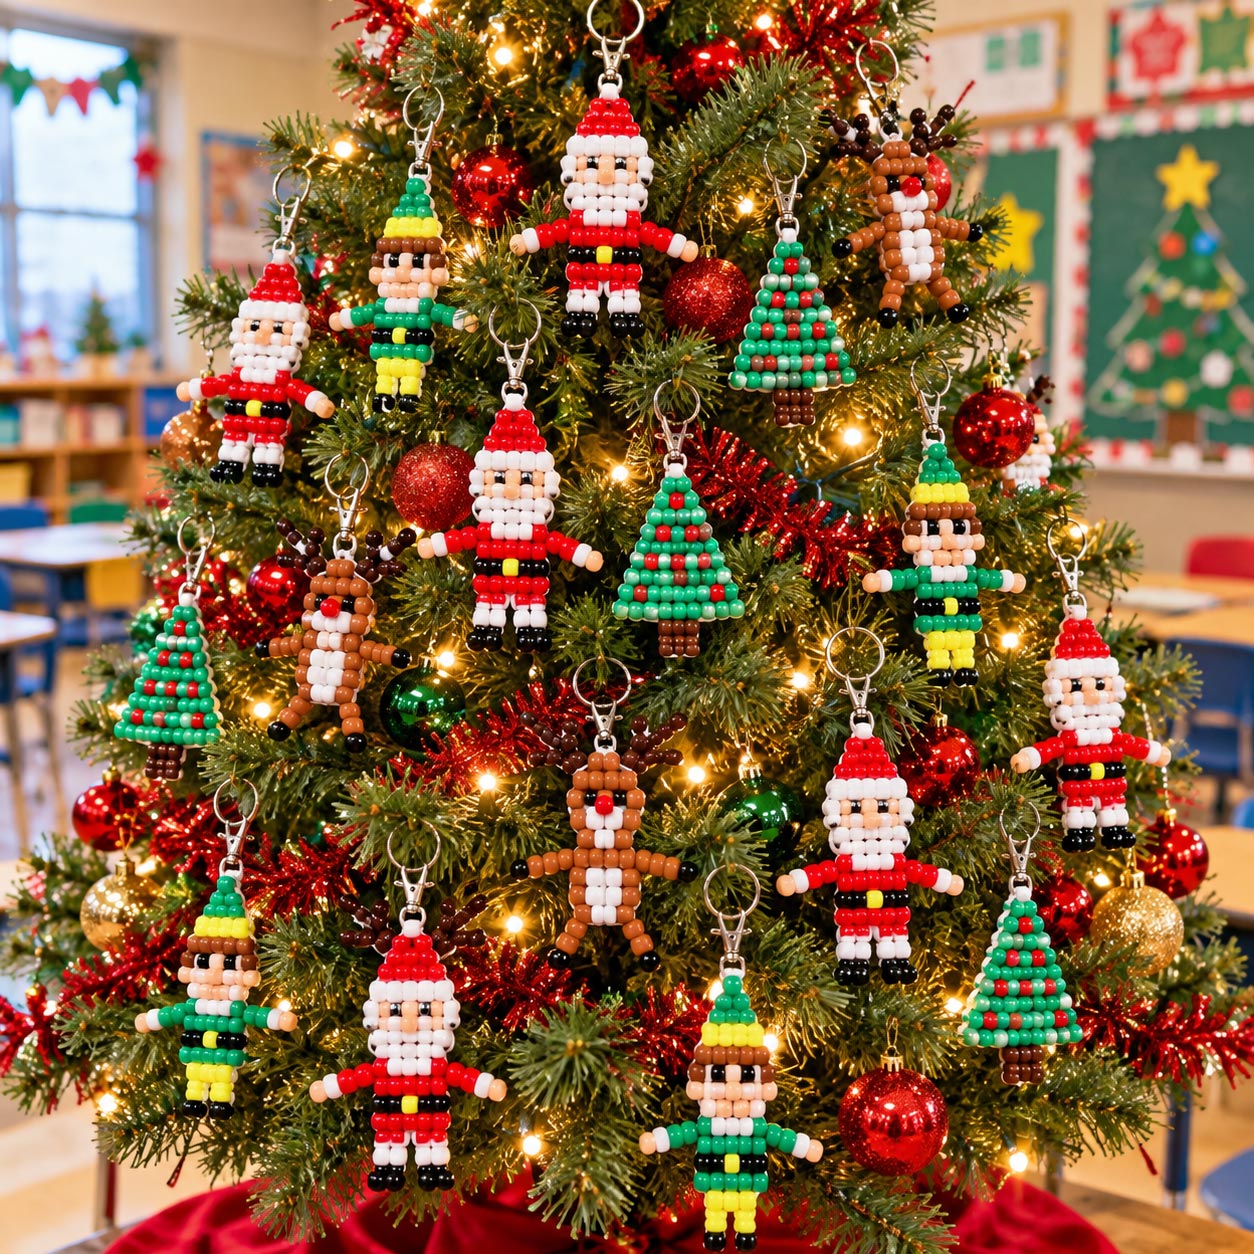
Who wouldn't love a little Santa of their own? Just imagine the fun of watching his familiar red suit, fluffy white beard, and jolly little face come together as you weave each row of beads! And once you've made one, you might find yourself wanting a whole bunch of these cheerful little Santas to decorate your Christmas tree, share with friends, or tuck into stockings. After all, you can never have too much Christmas cheer!
If you make this project please share your photos with us. If we use them on our website or on Facebook you will get 10% off of your next order over $25!
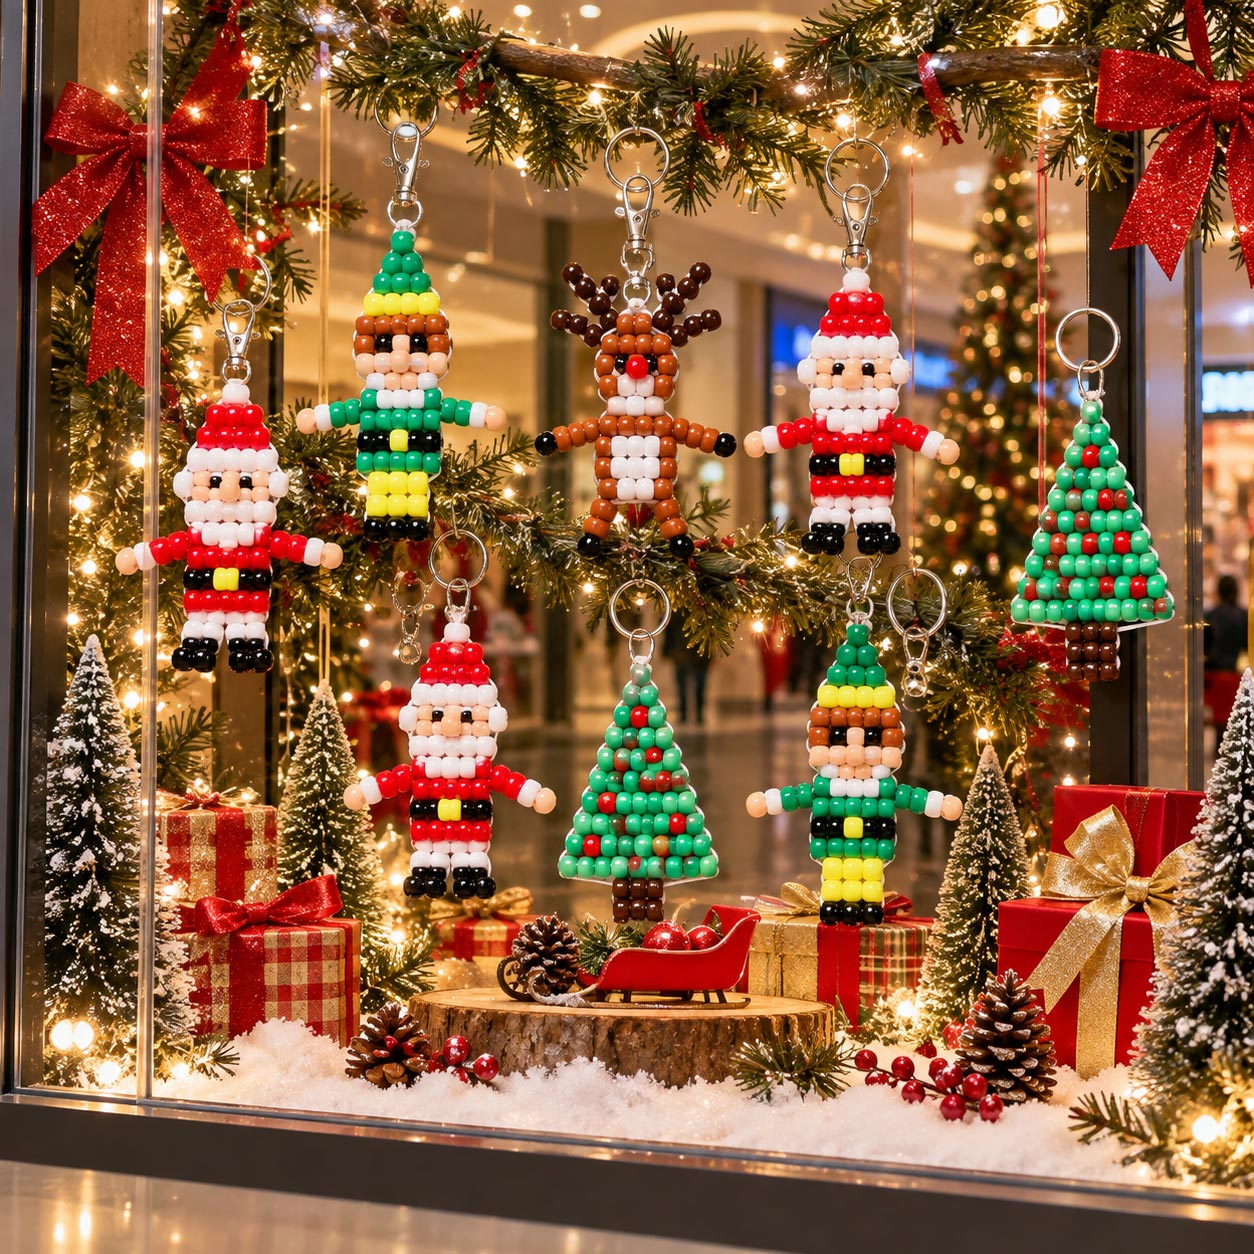
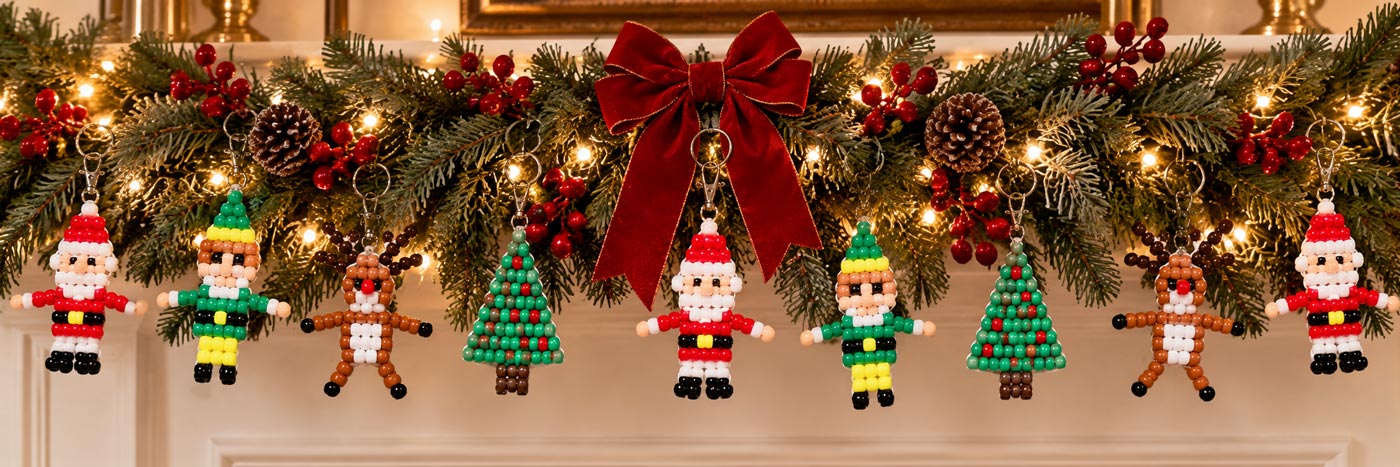
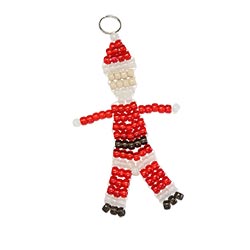
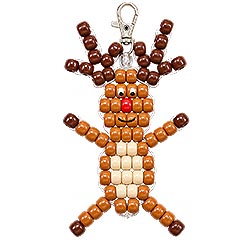
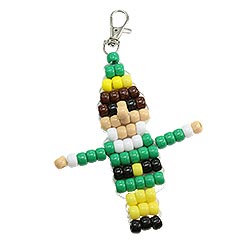
Here is a fun idea for taking these easy to make characters to another level. Combine several Christmas pony bead characters into a handmade garland, holiday swag or ornament strand. Mix Santas with elves, reindeer, Grinch, Christmas trees and other holiday designs, then hang them from ribbon or cord, place them into greenery, or space them along a strand of Christmas lights. A beaded Christmas garland can drape across a mantel or doorway, decorate a wall or window, or wrap around a Christmas tree. It could even become a group project, with each person making a different character to add to the finished Christmas decoration.
1 - Lanyard Hook
OR
1 - Key Ring
Cord - Approximately 2 yards
There are lots of different types of cord you can use for your beaded Santa. We prefer cord about 1 1/2mm to 2mm thick because it helps your Santa keychain keep its shape. Alternatively, you can use a thinner cord and weave a little wire or a pipe cleaner into your keychain for extra support. Either method works, it just depends on which you have available or which you prefer.
Monofilament Cord
OR
2mm Metallic Cord
34 - Red Pony Beads
26 - White Pony Beads
5 - Beige Pony Beads
2 - Green Glitter Pony Beads for Christmas colored eyes. If you are good at drawing you can substitute the eyes for the beige color and draw them on. (I can't draw well enough.)
8 - Black Pony Beads used for his belt and boots.
2 - Gray Pony Beads for Santa's belt buckle. You could use a gold or silver pearl or even a clear glitter pony bead.
Glue (We used super glue.)
Scissors
Ruler or Measuring Tape
1. Locate the halfway point of your cord and fold it in half. Attach the folded cord to your key ring or lanyard hook using a lark's head knot as shown in the photo. You should now have two cords hanging from the key ring.
NOTE: Some cords aren't very cooperative when making a lark's head knot. Alternatively you can thread your cord through the loop of your lanyard or keyring, find the middle again, and then thread both ends of your cord through the first white bead of Santa's hat.
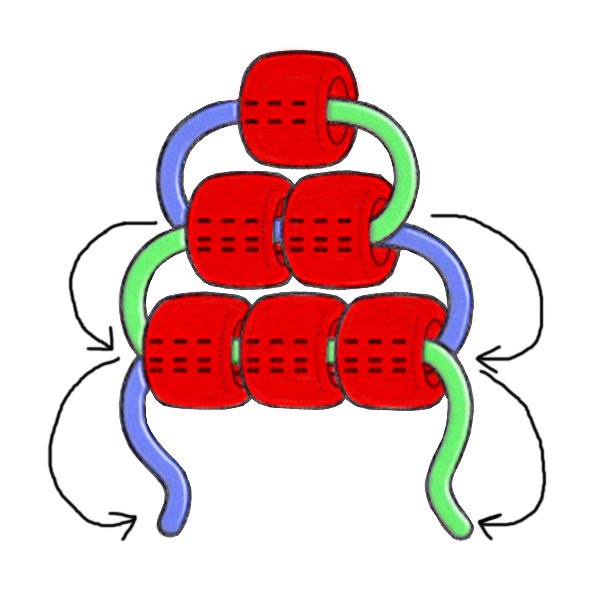
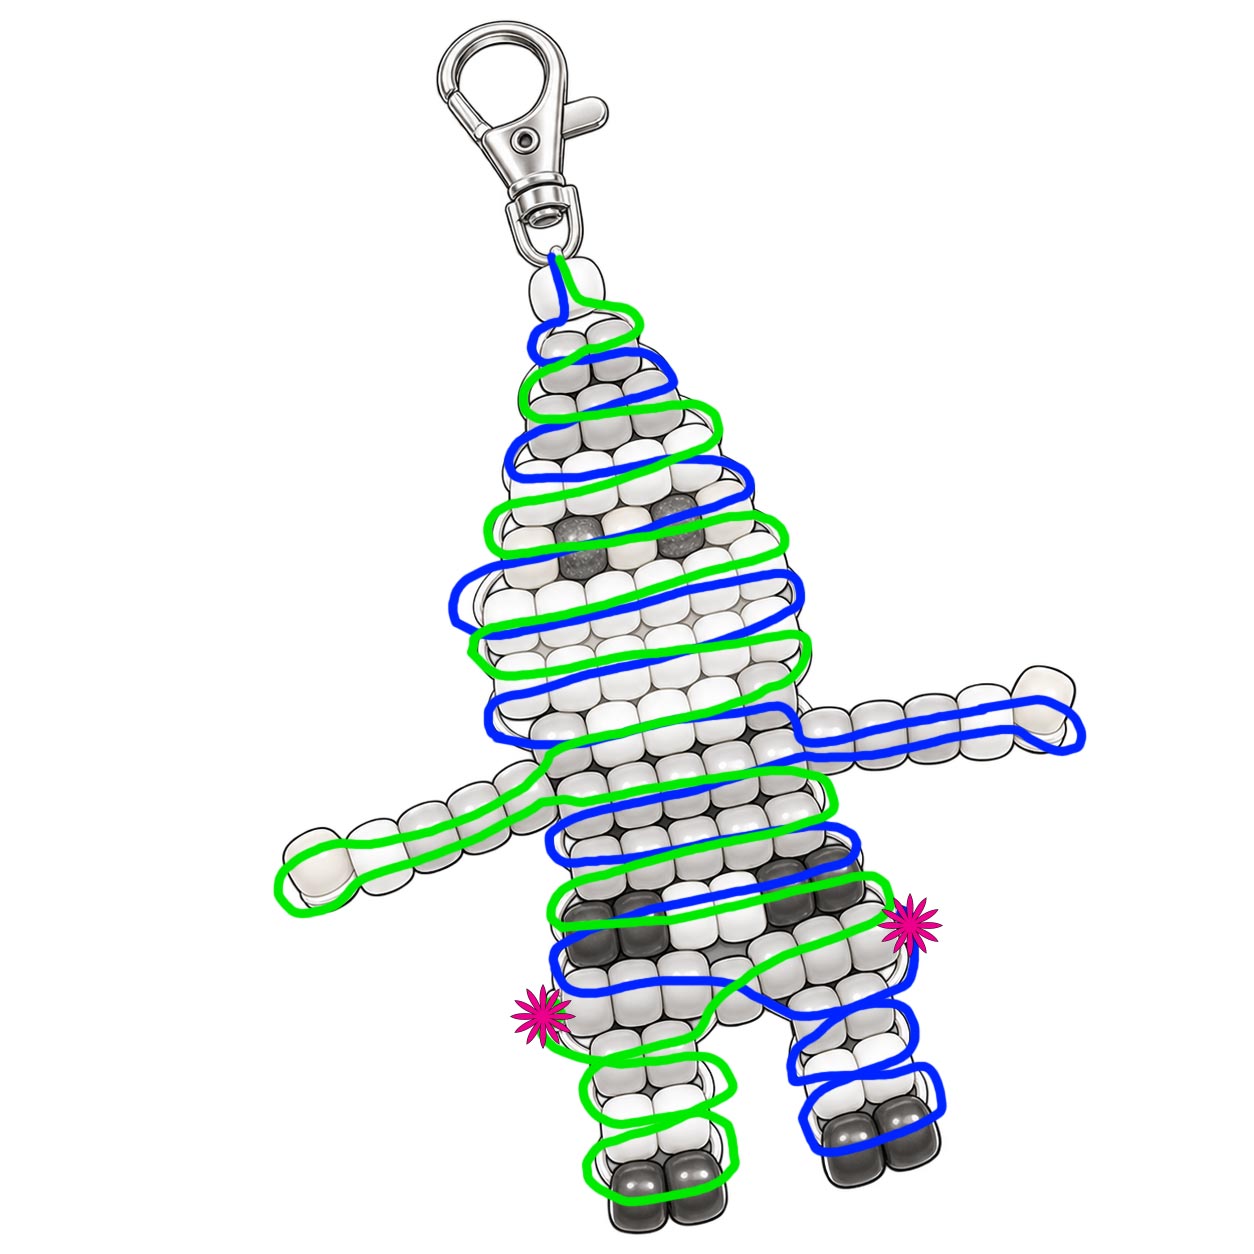
2. Using the Santa Claus bead diagram at the bottom of these instructions, begin weaving the rows of beads, starting at the top of Santa's hat. For each row, thread the beads onto one cord, then pass the other cord back through the same row of beads from the opposite direction, as shown in the illustration.
Note: The tension of your cord does make a difference. The rows should sit snugly together without being pulled too tightly. The rows of your Santa will begin to bunch up, curl or twist if it is too tight, and they'll sag if your tension is too loose or if your cord isn't very big. If a row doesn't sit straight, loosen it, straighten the beads with your fingers and pull the slack out again.
3. Continue following the Santa Claus diagram, adding the beads row by row to form his red hat, face, white beard, red suit, and black boots.
4. Each of Santa's legs are done with one strand of your cord. You'll add the 6 beads for his leg, 2 red, 2 white, then 2 black, onto your cord and then weave your way back up to his jacket. His leg isn't finished yet but it is easier to finish it after both legs are threaded. Repeat with the 2nd leg. To finish the legs you are going to thread the end of your cord back through the last 4 beads of the previous row and pull the slack up so that his legs sit against the previous row and the excess cord is on the outside bead of the jacket row. Tie off each cord end to the cord that's already there and apply a small drop of glue to the knot to help keep it from coming undone. Trim the excess cord after the glue has dried.
Your beaded Santa Claus is ready to spread some Christmas cheer! Hang him on your Christmas tree, add him to a festive window display, decorate a Christmas package, or give him as a little holiday gift. And of course, his handy lanyard hook makes it easy to take Santa along wherever you go!
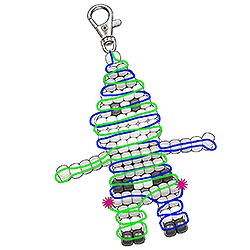
The illustration below uses red and blue to show how each side of your cord is woven through the beads. Click the image to see the larger diagram. The pink stars indicate where your cord will end and you'll tie your knots.
Looking for more Christmas pony bead projects? Here are more free patterns to make for ornaments, keychains and handmade Christmas decorations.