In business since 1985. Online since 1994. We sincerely thank you for supporting family owned, family operated businesses!
Member of Better Business Bureau with an A+ rating.
Give us a call from 8am to 6pm Mon-Fri. We are available to answer questions or to take your order.
(361) 645-3325
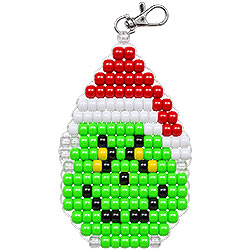
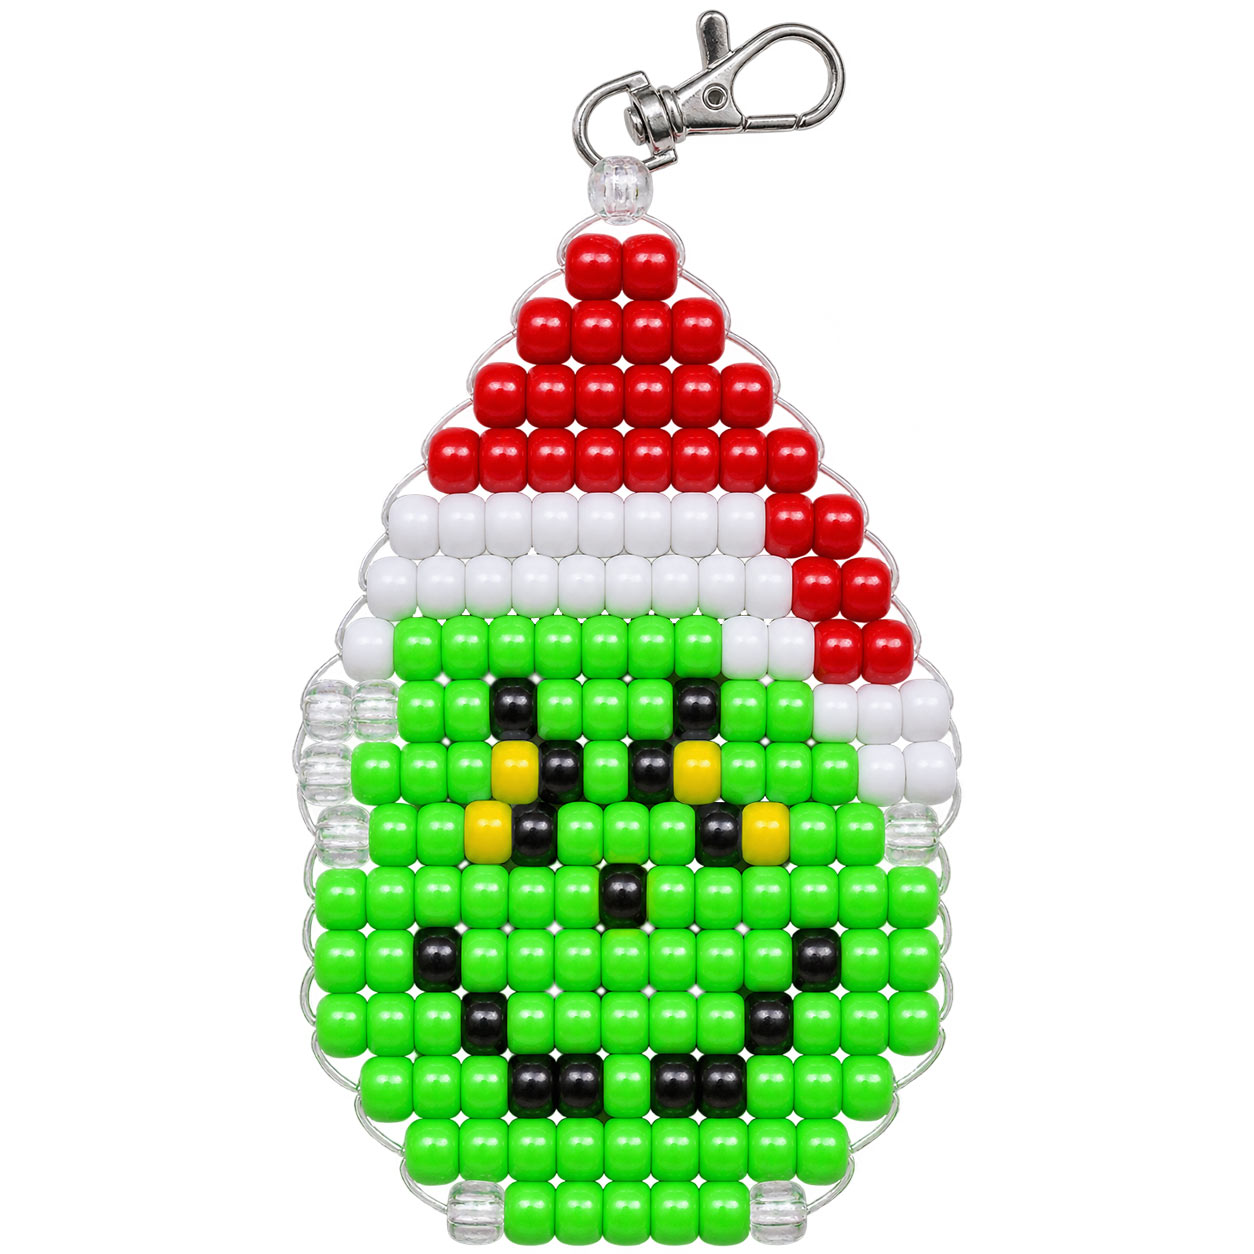
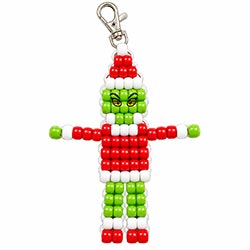
That mischievous Grinch face is hard to resist, especially when he's wearing his Santa hat! If you are ready to put your Grinch on and you enjoy making Christmas decorations, this Grinch face ornament will be the hit of Whoville as a fun little project to add to your holiday crafting. Our free pattern shows you how to create that familiar Grinch expression with pony beads, right down to his sneaky smile!
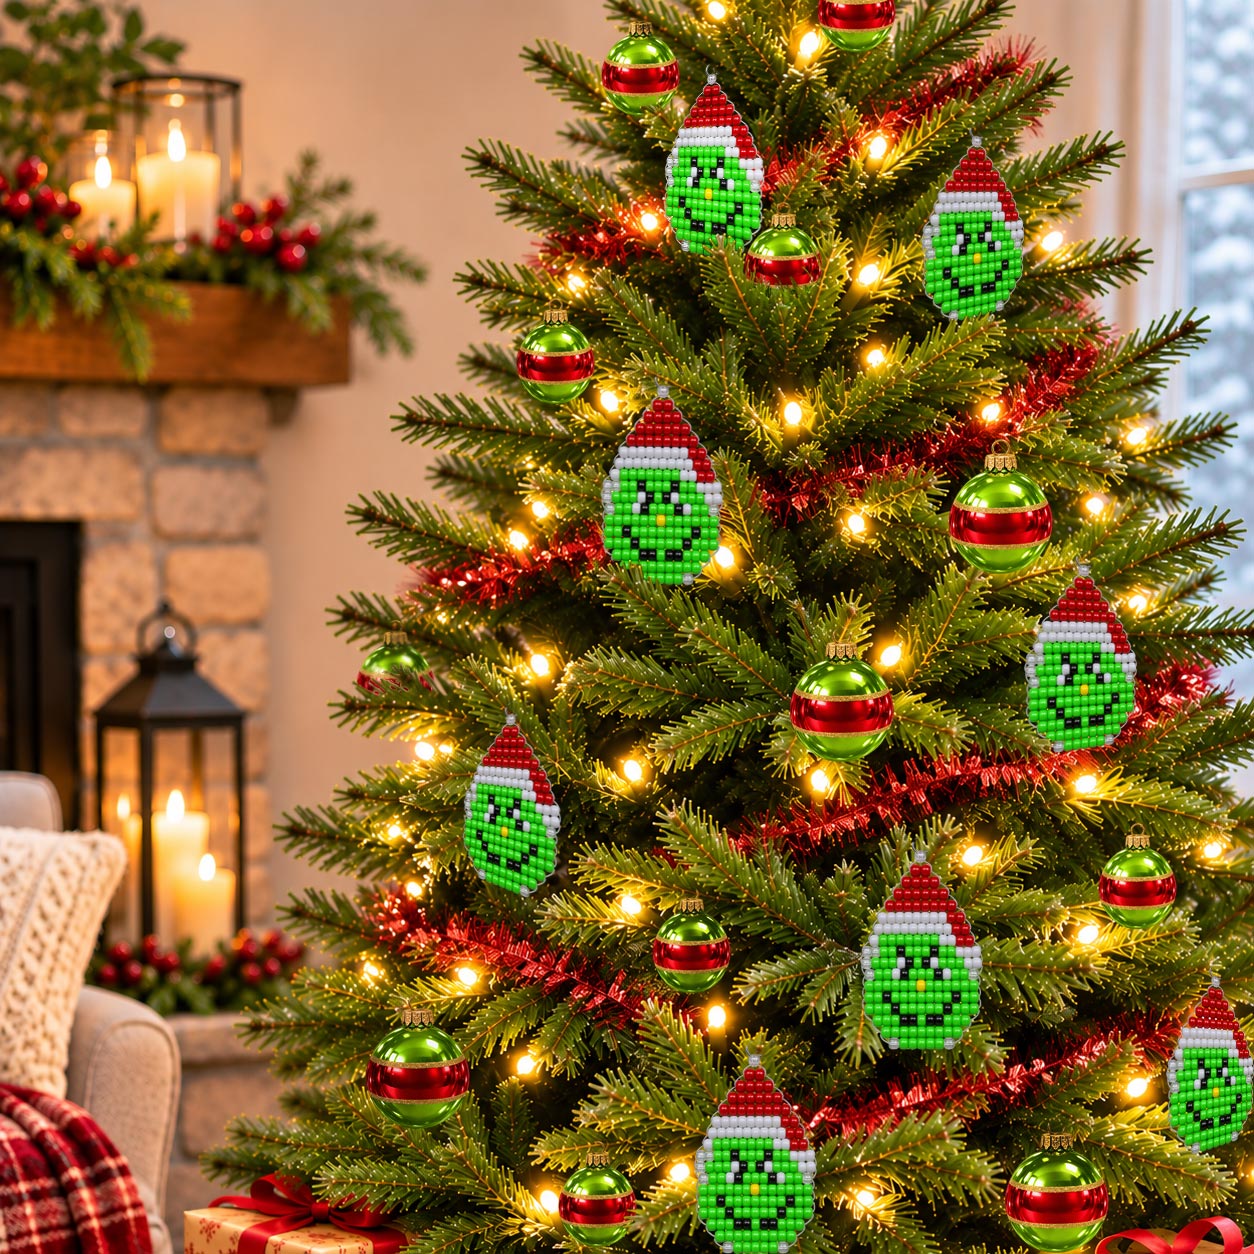
Imagine this little fellow peeking out from the branches of your Christmas tree! He would also be fun hanging from a wreath, decorating a Christmas package or adding a little Grinch personality to a holiday garland. If you're looking for DIY Grinch Christmas decorations, this is one project that could find its way into all sorts of places around your home.
Planning a Grinch-themed Christmas party? This would be a fun craft for a family gathering, a holiday craft afternoon or a classroom Christmas activity. A handmade Grinch ornament could also be a little gift for someone who loves the Grinch and his less-than-cheerful attitude toward Christmas. You could even use one as a special decoration on a gift instead of a traditional bow.
Our Grinch face pattern is another idea for anyone looking for Grinch DIY ornaments or Christmas pony bead patterns. The illustrated bead diagram lets you follow the project at your own pace, checking the bead placement and cord paths as you work. Once he's finished, you can decide where this little troublemaker will spend Christmas!
If you make this project please share your photos with us. If we use them on our website or on Facebook you will get 10% off of your next order over $25!
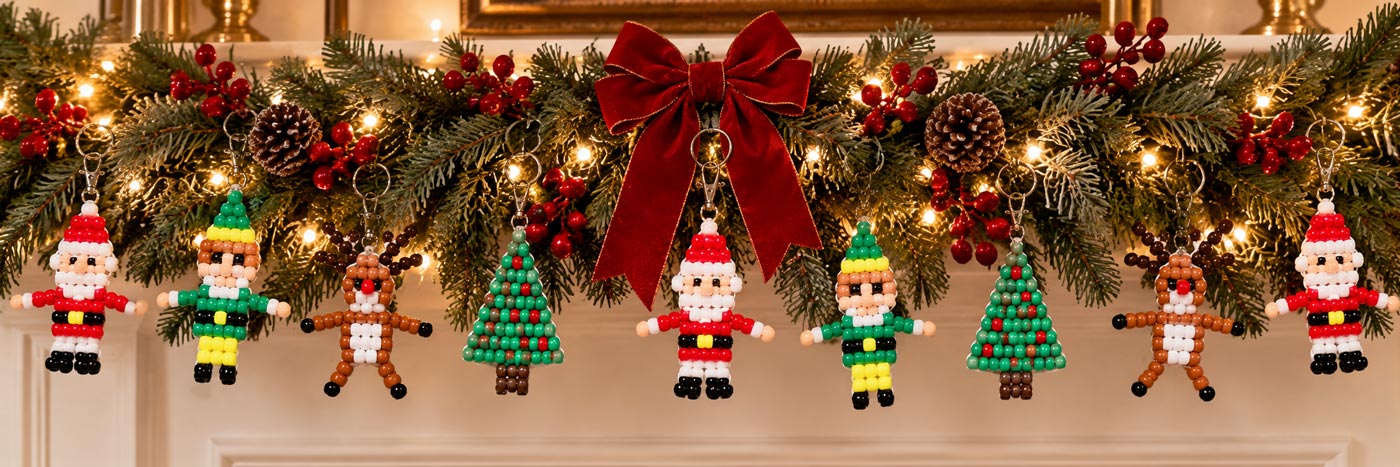
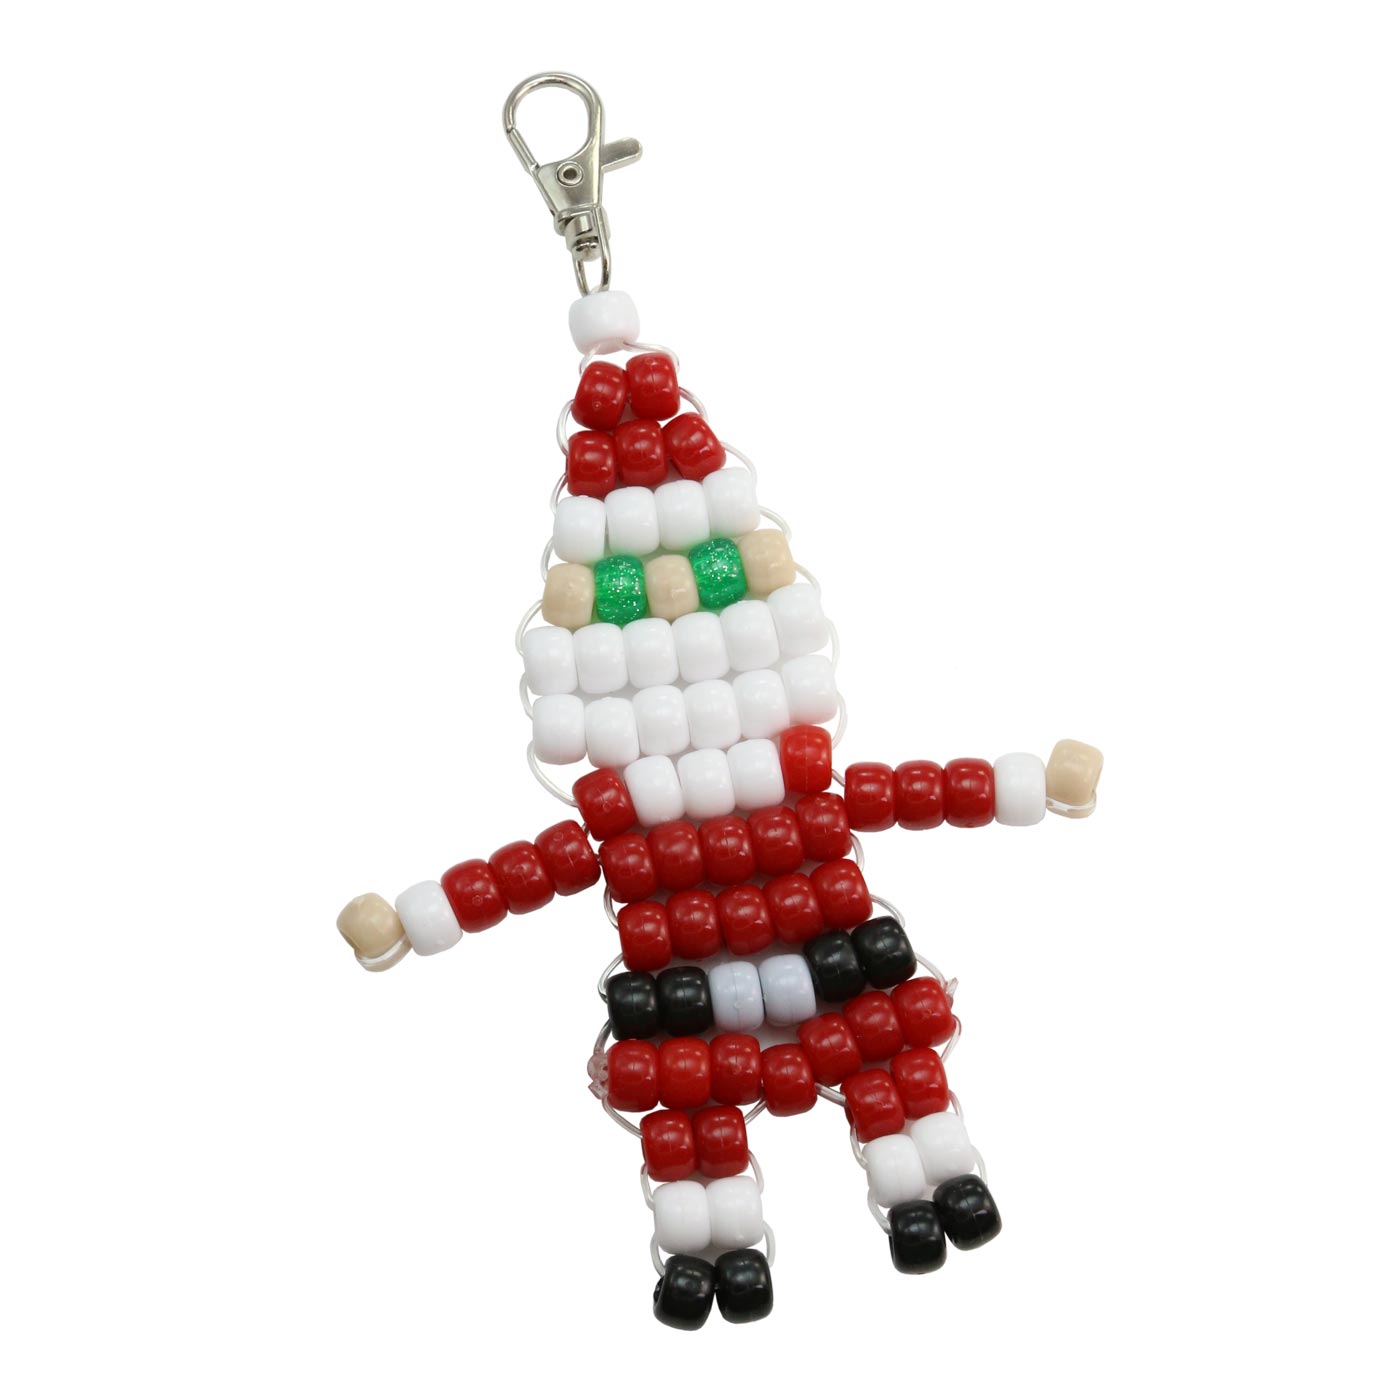
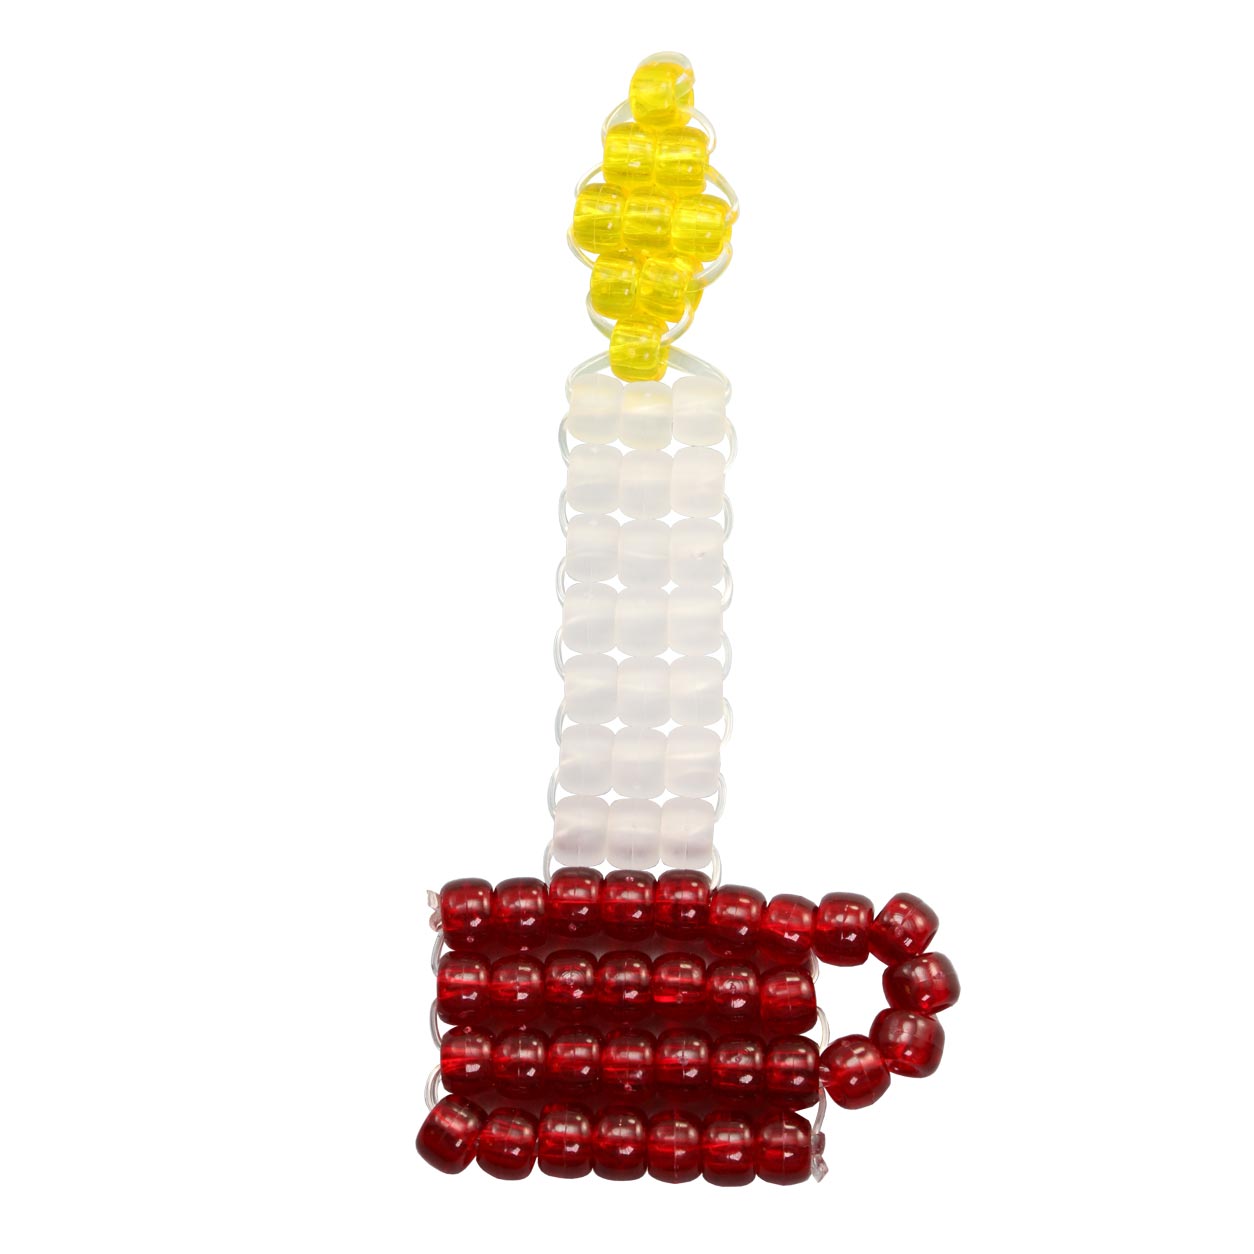
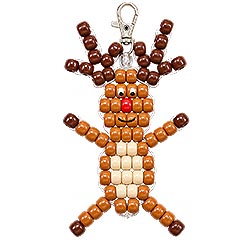
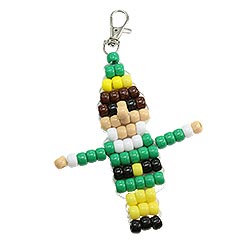
Here is a fun idea for taking these easy to make characters to another level. Combine several Christmas pony bead characters into a handmade garland, holiday swag or ornament strand. Mix Santas with elves, reindeer, Grinch, Christmas trees and other holiday designs, then hang them from ribbon or cord, place them into greenery, or space them along a strand of Christmas lights. A beaded Christmas garland can drape across a mantel or doorway, decorate a wall or window, or wrap around a Christmas tree. It could even become a group project, with each person making a different character to add to the finished Christmas decoration.
1 - Lanyard Hook
OR
1 - Key Ring
The lanyard or keyring are just a standard recommendation. If you are making a Christmas ornament out of this pattern, you might prefer to use a decorative ornament hook instead, or even a jump ring and decide how to connect it later.
Cord - 8 ft
There are lots of different types of cord you can use for your beaded diy Grinch face ornaments. Of all the different kinds of cords we've tried, a flat plastic lacing such as Rexlace (also called boondoggle or plastic lace) seems to work best on all of these types of patterns. It just seems to help the rows of beads sit neatly together without bunching or curling as easily and keeps your finished ornament shape better. Round cords, about 1 1/2mm to 2mm thick, also work well and there is a plastic cord out there called pony bead cord that is supposed to be good, but I haven't tried it so I can't say from experience. If all you have is a thinner cord, you can weave a little wire or a pipe cleaner into your grinch craft ornament to help it hold its shape.
Monofilament Cord
OR
2mm Metallic Cord
Helpful Hint: If your cord end frays easily, try dipping the end of your cord into a little melted wax and smoothing it out with your fingers. This helps prevent fraying and creates a stiffer end for threading through your pony bead Christmas ornaments.
26 - Red Pony Beads (For the Santa hat.)
22 - White Pony Beads (For the Santa hat trim.)
8 - Clear Pony Beads (For the starting bead and portions of the face. These act as spacers so the beads sit in the proper alignment without being noticed.)
84 - Lime Green Pony Beads (For the Grinch's face.)
15 - Black Pony Beads (For the facial features.)
4 - Yellow Pony Beads (For the eyes.)
Glue (We used super glue.)
Scissors
Ruler or Measuring Tape
Optional: If your beaded Grinch face doesn't hold its shape well, you can weave a piece of wire or a chenille stem into the widest row of your project to help it keep its shape.
Beading Wire
OR
Moss Green Chenille Stem
1. Thread your cord through the base of your lanyard hook, or other connector, then bring the cord ends together so they are even.
2. Thread both cord ends through a clear pony bead and slide the bead up against the connector. This bead helps keep the cords together and provides a neat, somewhat invisible starting point for your Grinch face ornament.
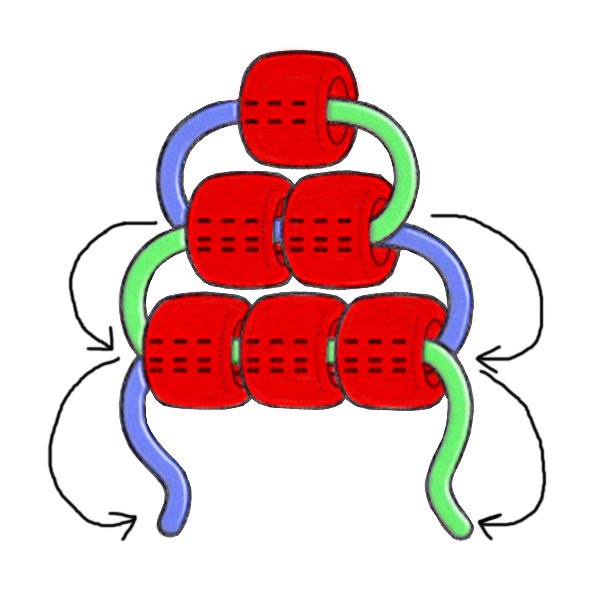
3. Using the Grinch face bead diagram below, begin weaving the rows beneath the clear bead. Thread the beads for the first row onto one cord, then pass the other cord back through those same beads from the opposite direction. Pull both cords until the beads sit together beneath the clear bead.
Note: The tension of your cord does make a difference. The rows should sit snugly together without being pulled so tightly that your Grinch face begins to curl or twist. If a row doesn't sit straight, just loosen it, straighten the beads and pull the slack out again.
4. Continue working down through the Grinch face pattern, following the bead colors and cord paths in the diagram. You'll begin with his grinchy Santa hat, then work your way down through the white hat trim and into his grinch green face.
5. As you reach the facial features, follow the placement of the yellow and black beads in the diagram. These beads create his eyes, eyebrows and that familiar mischievous Grinch expression. Continue weaving the remaining rows until you've completed his face .
Note: If your Grinch ornament doesn't hold its shape well, you can weave a piece of chenille stem or wire into the widest row of your grinch craft ornament to help it hold its shape.
6. I always try to make my tie-off knots as inconspicuous as possible. Sometimes that means doing a little extra weaving, so here are two ways to finish your Grinch ornament decoration. You can decide which one you prefer:
Trim the excess cord once the glue has dried.
Your handmade Grinch Christmas ornament is finished! He's ready to find a spot on your Christmas tree, join a holiday wreath or become part of your other DIY Grinch Christmas decorations.
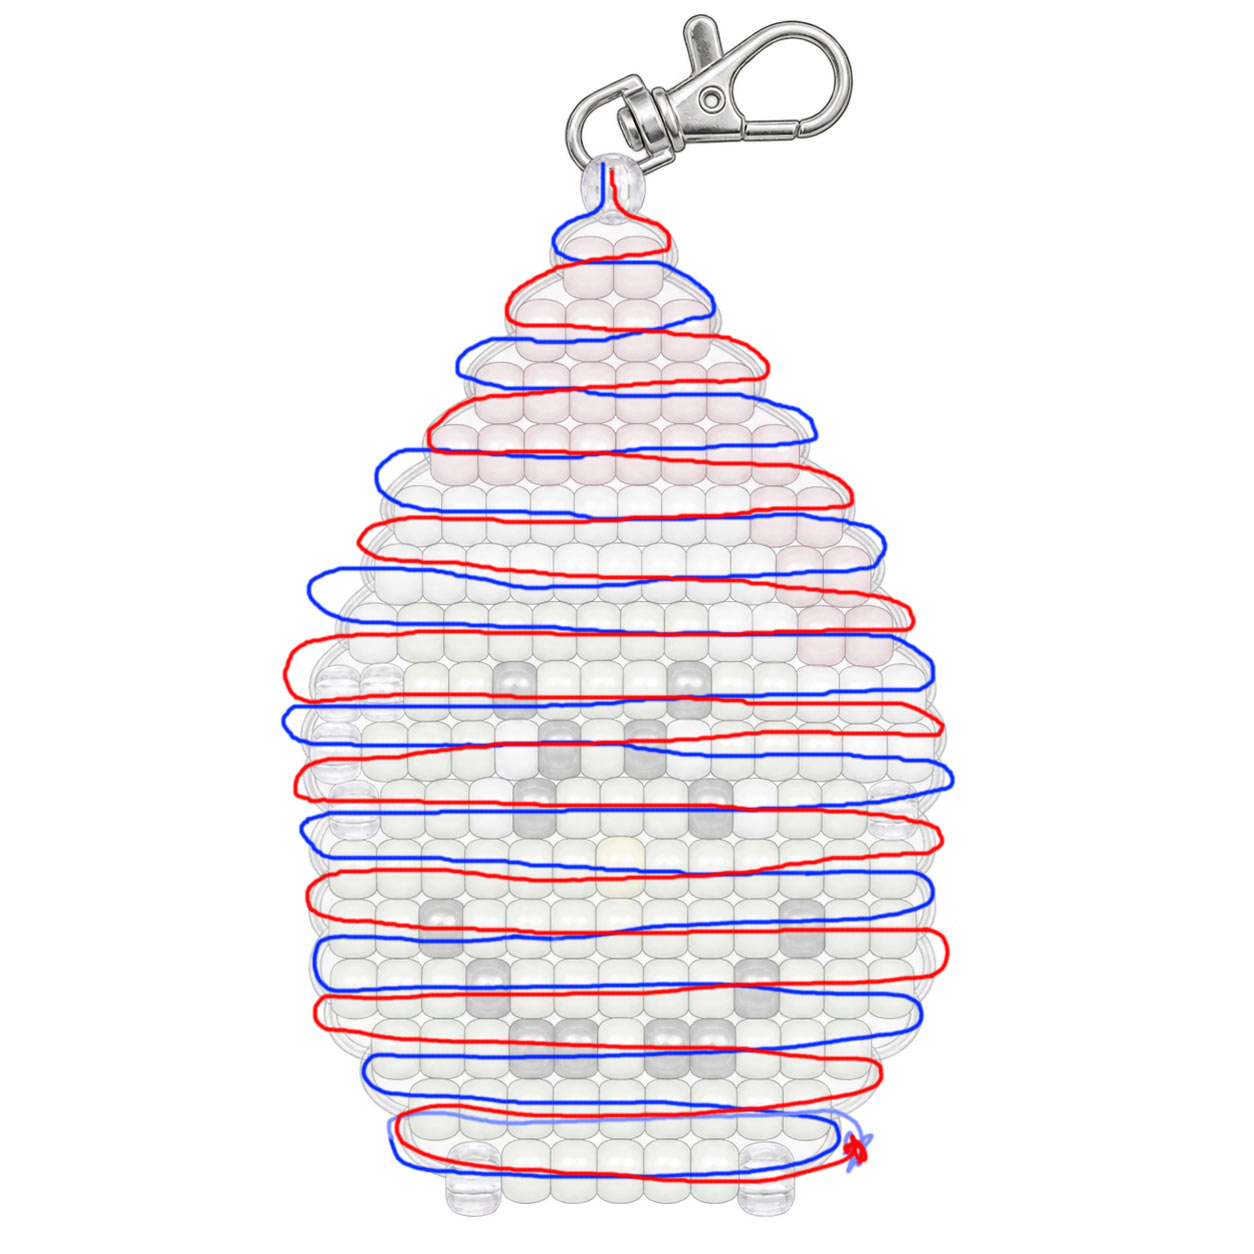
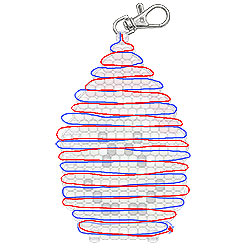
The illustration below uses red and blue to show you how each side of your cord is woven through the beads. It opens to a larger image if you click it. The path color will change to a different shade where that same cord is woven back through a row. The diagram shows the tie off knot on one side. 
Make a pair of earrings, a necklace pendant or a charm for a Christmas bracelet using this grinch face ornament pattern and substituting seed beads or E beads and a small gauge wire instead of the pony beads and cord.
A Grinch-themed Christmas tree could be a lot of fun! Imagine a tree decorated with Grinch faces, red and green ornaments, ribbons and a few decorations inspired by Whoville. You could even add a Grinch face ornament to the top of a wrapped gift for someone who enjoys the story.
If you're planning a Grinch Christmas party, this little fellow could be part of the decorations. Hang him from a holiday centerpiece, attach him to a party favor or use him to decorate a gift basket. He might even be fun hanging from a stocking instead of the usual stocking charm.
For a different use, you could attach the finished grinch diy ornament to a lanyard hook or key ring and use it as a Grinch keychain, backpack decoration or zipper pull. The same pattern can be used for several different Christmas craft ideas.
The Grinch first appeared in Dr. Seuss's book How the Grinch Stole Christmas!, published in 1957. The story introduced readers to the Grinch, his dog Max and the cheerful residents of Whoville. It wasn't until the animated television special aired in 1966 that the Grinch became the familiar, delightfully mischievous, Christmas hating, green character we recognize today.
In the original book, the Grinch was illustrated primarily in black, white and red. The bright green appearance that became so familiar came from the animated special. That green face, along with his Santa hat and mischievous expression, has made him a favorite subject for handmade Grinch ornaments and Christmas decorations ever since.
Did you know that the name Grinch appeared in a Dr. Seuss book four years before How the Grinch Stole Christmas!? In his 1953 book Scrambled Eggs Super!, Seuss introduced an imaginary bird called the Beagle-Beaked-Bald-Headed Grinch. He used the name again in a 1955 story called The Hoobub and the Grinch, before giving it to the Christmas-hating character we know and love today. The name may have been inspired by the word "grouch," which certainly fits his personality! While Dr. Seuss didn't invent the name Grinch, he did make it famous and gave it the meaning we recognize today.
Christmas pony bead patterns are a fun way to create decorations for the holidays! Our collection includes Christmas ornaments with pony beads that you can hang on your tree, add to a wreath, string onto garland, use to decorate gifts or share with family and friends. Each pony bead Christmas ornament comes with instructions to help you turn a simple bead project into a little holiday decoration you'll enjoy bringing out year after year.